Tuesday, December 17, 2013

Rendering Suet

Purchased beef suet.
Suet is raw beef fat [1] and is generally considered a waste product of the commercial meat industry. In hindsight I would have preferred to use pasture-fed, organic suet so that I can use it for creams and soaps, however since the original plan was to just use it for candles I'm starting with two packages of beef suet purchased from the local supermarket - 2.90lb for $1.69/lb. Next time I will be a more discerning shopper.

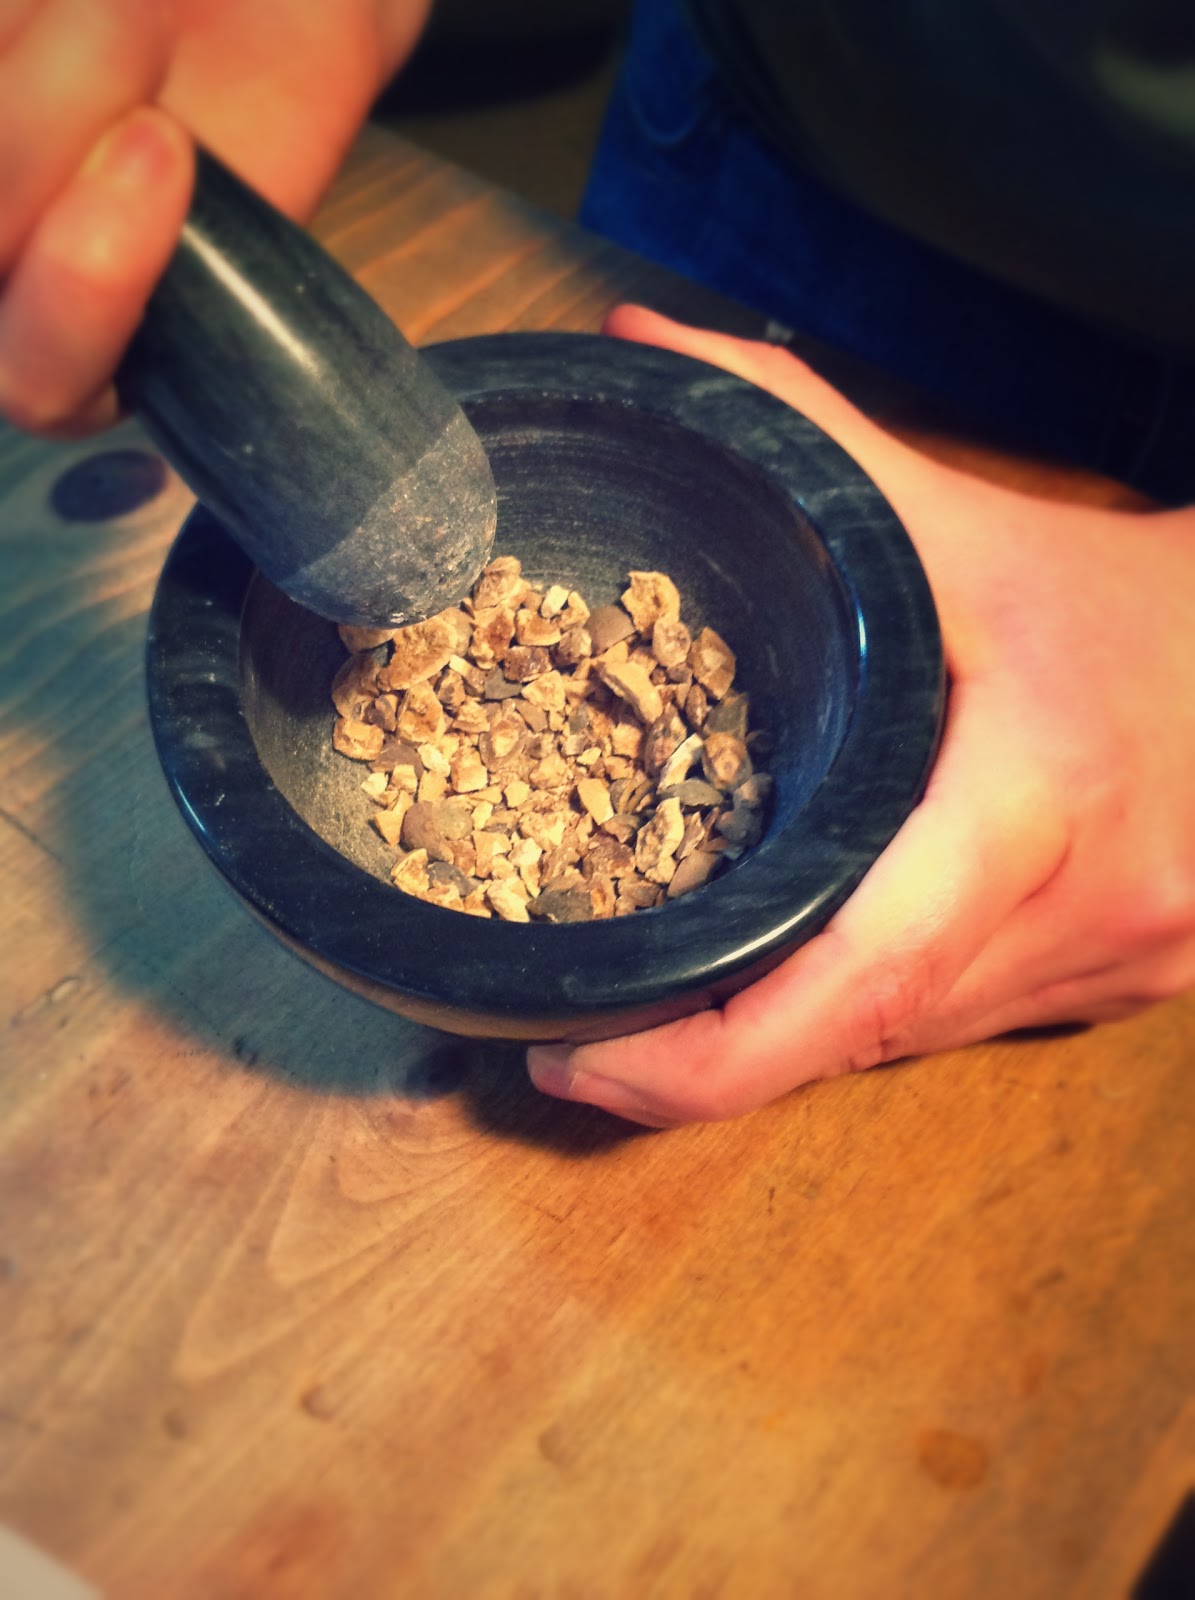
First, chop the suet into small chunks, the smaller the chunks the easier it will process (if you have a meat grinder available then use it). Raw suet feels greasy to the touch just like you imagine fat to feel. Discard anything that looks like muscle, tendon, bone etc.

Almost 3lbs of chopped beef suet.


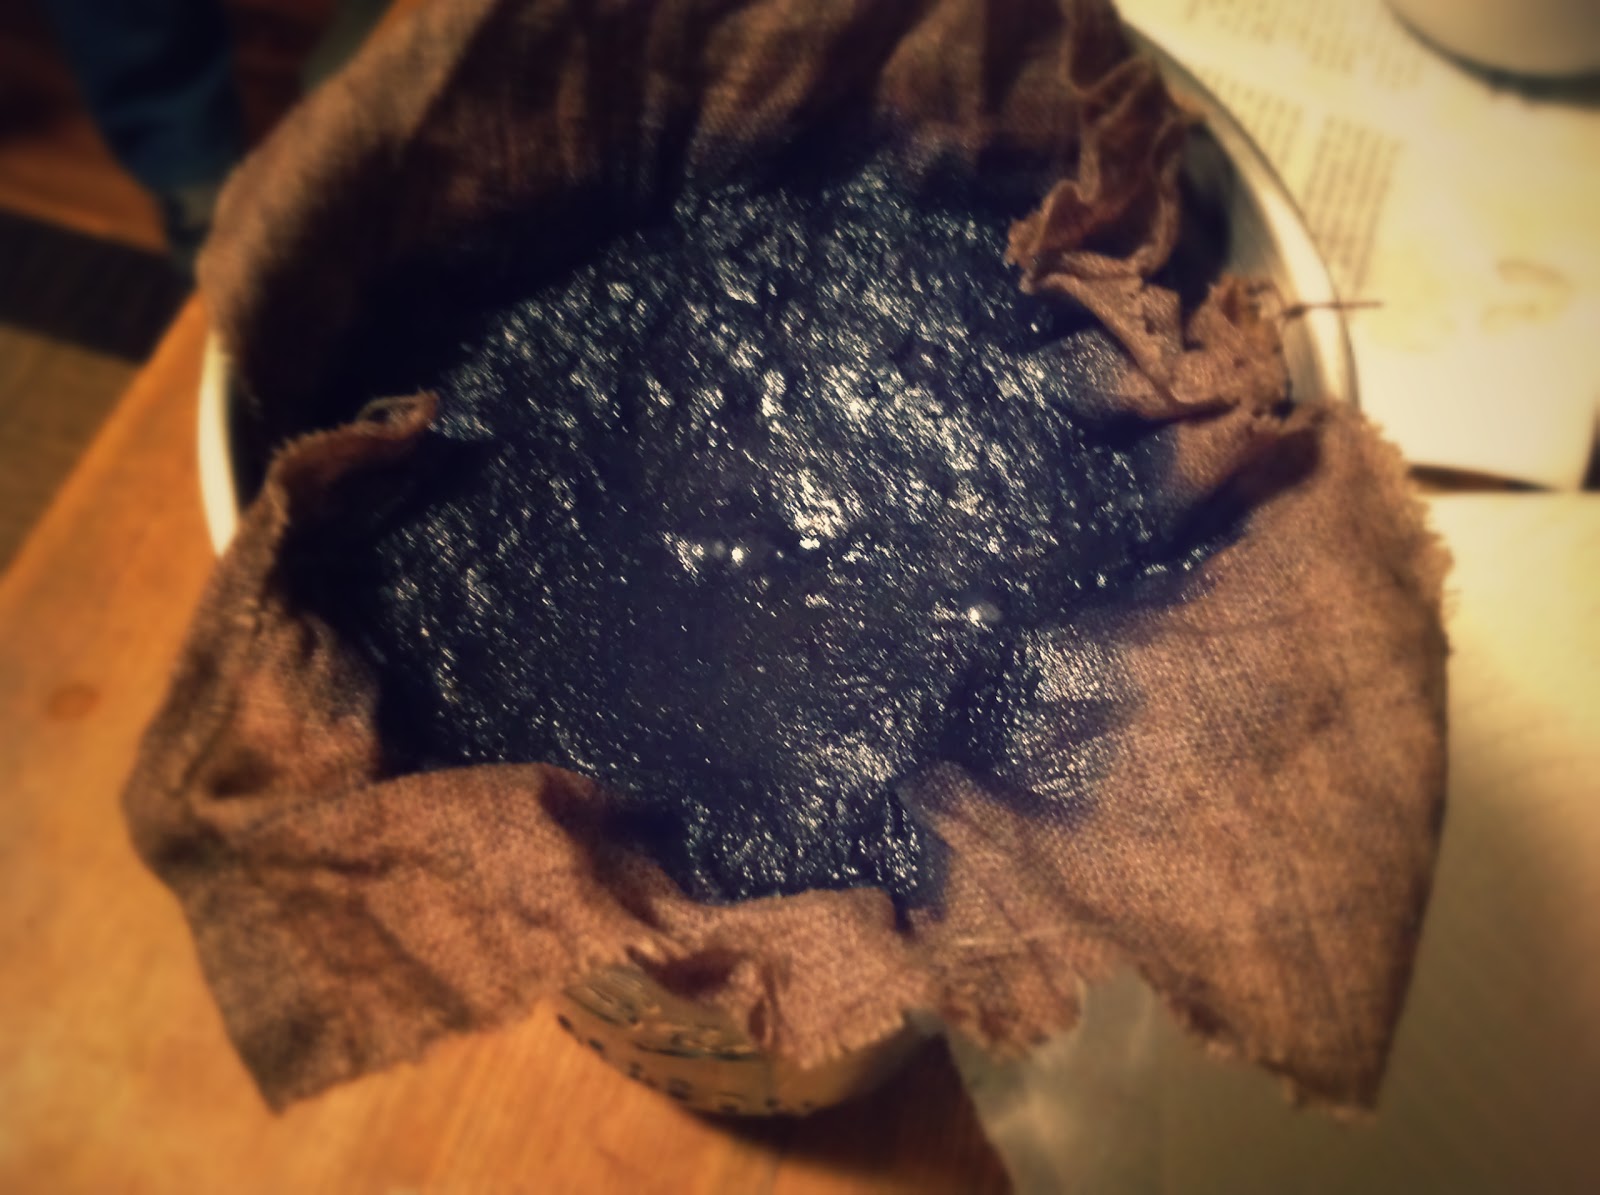
Simmering on the stove.
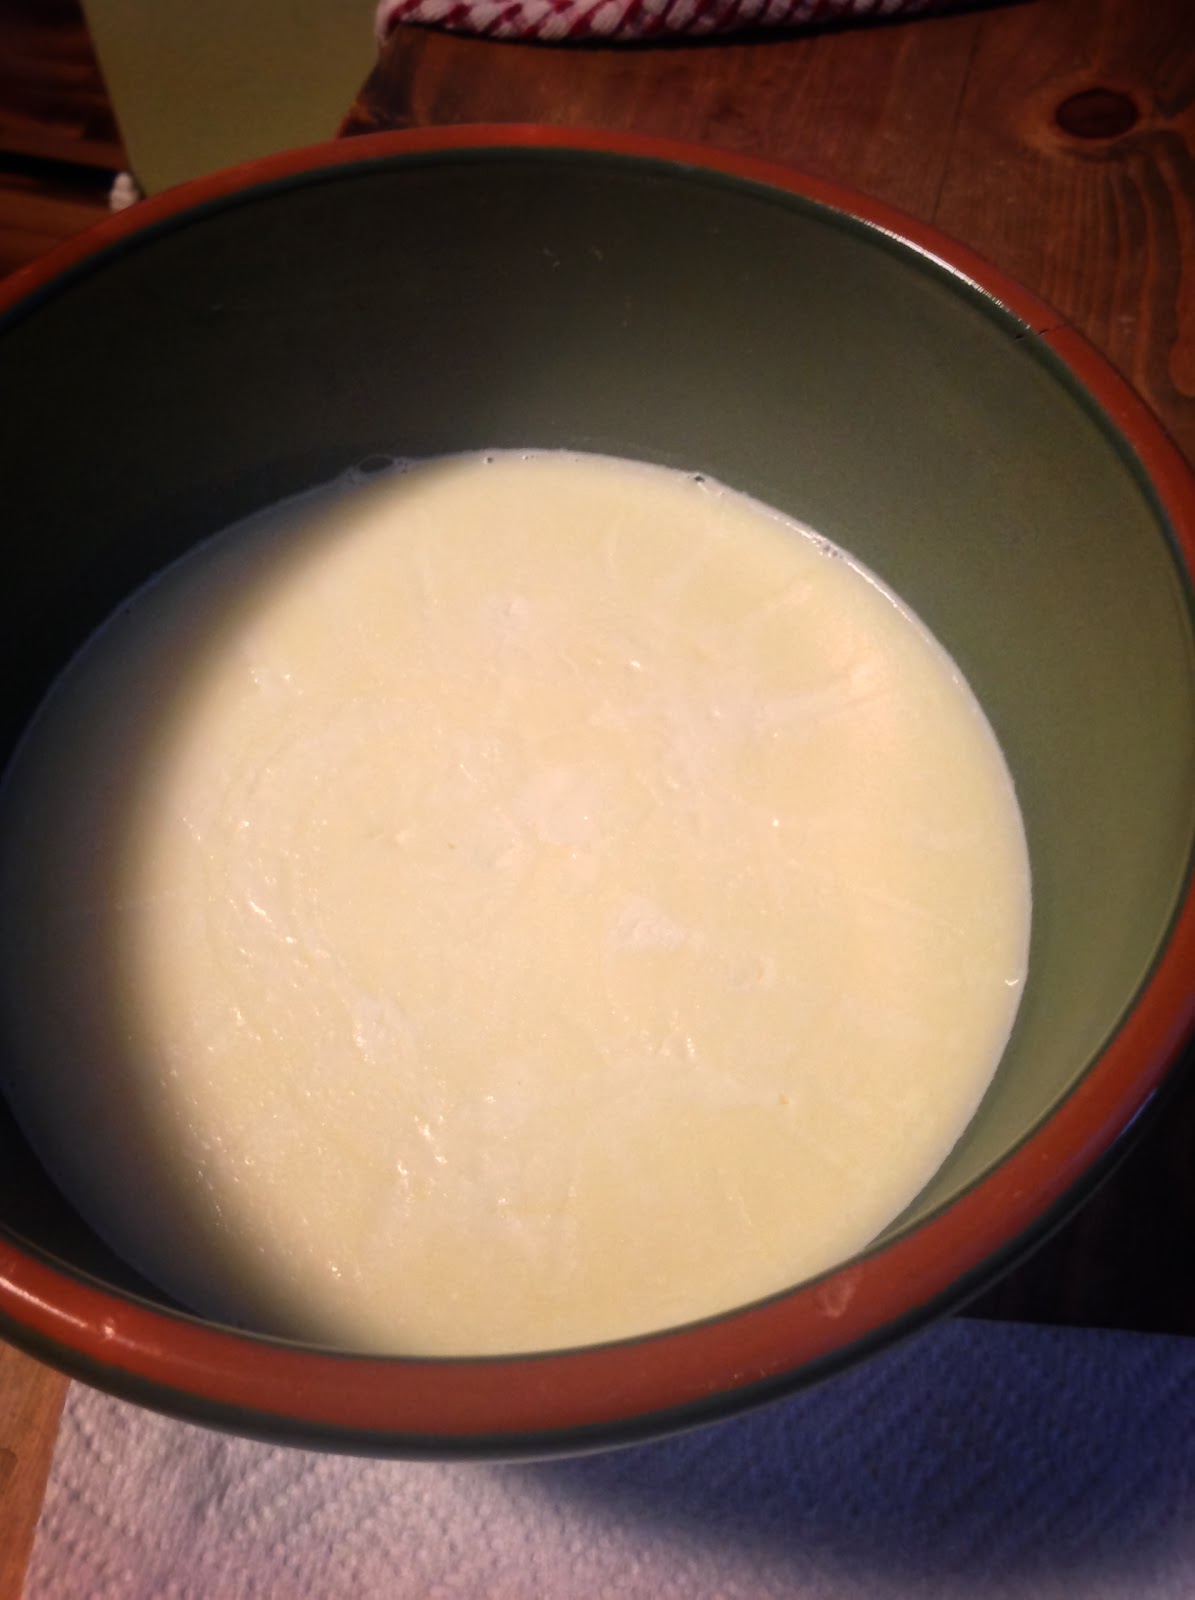
Liquid after filtering.
 Put the suet chunks in a large pot and just enough water to cover it. Bring it to a boil CAREFULLY, making sure that it doesn't boil over as it will smoke, set off the fire alarm and potentially cause a fire [2]. If it does overflow it's disgusting, clean up any mess immediately.

As soon as it starts to boil turn the heat down to a low simmer. I left mine like this for about three hours mashing the solids every so often to release the fat [3].

When you decide that it's finished cooking, carefully pour the fatty water through a sieve into a clean bowl and squish the juices out of the fat solids (in the sieve) as best you can. You'll be amazed at how much liquid these retain. Let the bowl of "juice" cool until the top is a solid, creamy-white mass. I put mine in the fridge overnight.

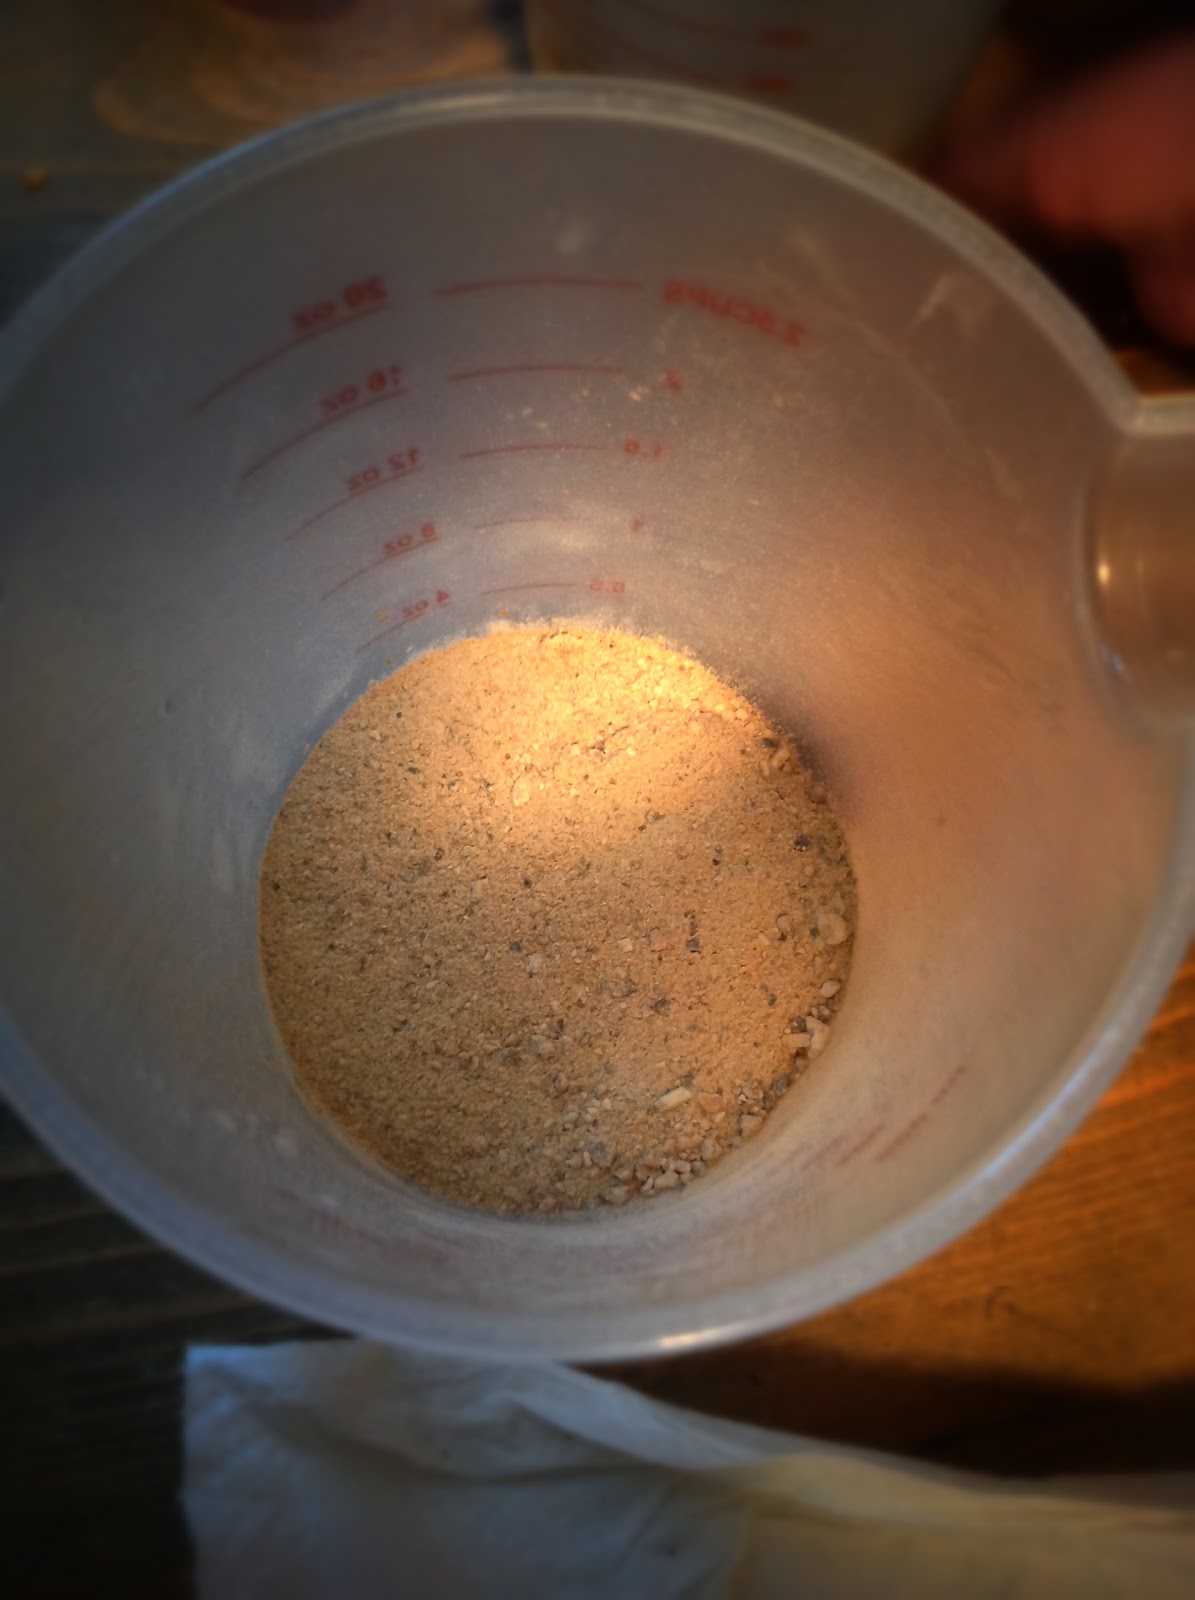
Tallow after being
chopped for final cooking.
Use a knife around the outside to separate the mass of fat from the sides of the bowl, but be careful not to slop the liquid underneath. Lift it out and rinse it in cold water to get the scummys off, I used a knife to gently scrape them away. I weighed mine and it came in at 2.11lbs (down from starting at 2.90lbs. At this point some say to do a second simmering, however I chose to follow instructions that just went straight to chopping it up and putting it into a double-boiler set-up. Melt it down and let it boil off any remaining water. Mine sat on the stove for about two hours.

Strain it through a fine sieve to remove any remaining scummies. I used a piece of natural linen in my metal sieve. At this point you can strain it straight into your final storage container, it will harden to a creamy-white mass. Mine has the slightest hint of a beef smell when you stick your nose right up to it.
Finished tallow that will be used to make candles for the production of lamp-black pigment.


Citations:
[1] Mirriam-Webster Online defines suet as "the hard fat about the kidneys and loins in beef and mutton that yields tallow".
[2] My "Shop Gnome" and I were having a discussion when he convinced me (stupidly) to continue it in the garage since the pot was nowhere near boiling. Not three minutes later I hear the sizzle of the fatty water hitting the stove-top and open the door to discover smoke billowing from the kitchen just as the fire alarm started to warn us of the danger. It was a HUGE disgusting mess of fat covering everything and took a decent amount of time to clean up before I could put the pot back on the stove.
[3] I've since read accounts of others leaving it to simmer for up to eight hours. Some using the stove, others using the low-setting on the crockpot.

Sources:
http://thehoodedhare.com/lighting-in-the-middle-ages.pdf

http://www.candles.org/about_history.html

http://en.wikipedia.org/wiki/History_of_candle_making

http://lostartskitchen.wordpress.com/2011/03/12/rendering-fats-at-home-primer-lesson-one/

http://preparednessadvice.com/food_storage/suet-and-tallow/#.Uqz1HSG9KK0

Wednesday, December 11, 2013

Discussing the Use of Mortar & Pestles

This is a post that I started on Google+ and is embedded here since I consider it a significant discussion on a common tool used by many trades that is probably never given much thought. Please join the discussion in the comments section below.

Monday, December 9, 2013

Guild Mirandola's Oak Gall Ink Kit

Or, Isabel and Aife have a playdate.

At one of the recent SCA events I attended there was an auction and one of the items was a bag full of scribal goodies. Of course I had to have that baggie, but if truth be told I feel a little guilty for paying so little for goods worth A LOT more. One of the items in the baggie was an Oak Gall Ink Kit from Guild Mirandola, a small scribal supplies vendor here in the East Kingdom.

Aife needed ink for something she's working on, and I just happened to have the supplies available. What follows isn't my own work, it's what happened when we followed the instructions included in the Kit. I'm not going to specifically detail the instructions and ingredients here as I feel that would be unfair to Guild Mirandola (Doscelina's contact information can be found on the website). The Kit contains very easy to follow instructions and I strongly recommend that people buy the Kit. This is period-style ink making made so simple that ANYONE can do it.


Although the Oak Gall Ink Kit contains exactly the about of ingredients you need, we actually ended up making double what was specified because I had my own supplies already but had never actually gotten around to using them. Other items needed are easy to lay your hands on and should be readily available to most people.

Crushed gall nuts in the mortar.
First order of business was to set up the gum arabic crystals to dissolve while we followed the rest of the instructions. Once that was set up we needed to crush the gall nuts. They were shoved into a plastic ziplock bag, that was then wrapped in a kitchen towel and then smashed vigorously with a hammer borrowed from my "shop gnome". Once they'd been reduce to much smaller pieces they were transferred to the mortar and pestle and ground into "a fine powder".

I do want to comment on how annoying these were to grind, they proved to be much tougher than I had imagined. They are surprisingly hard and I actually ended up with a blister in the center of my hand from the grinding. Get around this by getting them as broken and small as you possibly can with the hammer. The smaller they are before they hit the mortar and pestle, the less hand grinding you'll need to do.

You'll end up with this...

Gall nuts reduced to "fine powder"
Continuing to following the instructions, add the water and let it sit. So just how patient are you? We were working on a couple of other projects at the same time, so our little container of brown gunk actually ended up marinating for well over an hour. It has a VERY earthy smell which I surprisingly found quite pleasant.

Back to following the instructions that came with the kit and we find that it's time to add the green ferrous sulfate. The instructions say that when you add this to the brown gunk it will start to turn black immediately, and it did! We both stood there, staring into the jug saying "that's SO COOL!". We then stirred vigorously so that everything was thoroughly mixed.

Oak gall "tea" after the ferrous sulfate has been added.
Next step was to filter the mixture through some linen to remove all the nasty gunky bits. We used a piece of natural coloured linen which we first saturated with water to help the process along.

Oak gall ink mixture being filtered through linen to remove the debris.
We ended up with about a half of a pint-sized Mason jar of black liquid, basically a dye, and to this was added the gum arabic which we had been dissolving. The addition of the gum arabic provides the binder (glue) that turns the dye into an ink, making it stick to a page.

Upon testing, we found that we had achieved a nice writable ink in a viscosity that I liked. I will admit to being a little surprised at how black it was straight out of the jar, I was expecting it to initially write quite faint (it darkens over time) and be almost translucent but it wasn't.

Very rough draft writing with the ink made from the Guild Mirandola Oak Gall Ink Kit.


A word on dissolving the gun arabic crystals. We found that keeping the solution warm helped the crystals dissolve at a much better rate. We had allowed the water to cool while we worked on other things, it really delayed the process and the crystals stuck to our stir-stick.

For detailed instructions and supplies please purchase one of these
Oak Gall Ink Kits from Guild Mirandola

Thursday, December 5, 2013

How to Care for Your Metal Dip Pen Nibs

Most modern calligraphy nibs are made of metal, and like most things they need a little tender loving care to keep them in good condition. Inks not only have the potential to clog your nibs as they dry, but some inks are actually corrosive and damage them.

Disclaimer: This is MY way of doing things and works FOR ME, others may do things differently. There is not "one true way", so find what works for you.

Cleaning:
There are commercial nib cleaning solutions available for purchase, however I've never used one as I don't really see the point. I consider my nibs disposable items and I fully expect them to deteriorate over time, needing to be replaced. That's not to say that I don't try to keep them in good condition, so here are my tips for cleaning metal nibs.

After use I either swish my nib in the rinse-water jar I've been using or use a pipette to squirt water over the nib, but I'm not overly concerned with getting all the ink off the nib. Afterwards I take the nib out of the pen holder so that it can be fully cleaned and dried. My next step is to take a Q-tip and dip one of the ends into rubbing alcohol (both can be purchased in any pharmacy or supermarket), then I use that wet end to thoroughly clean the nib surface. Using a Q-tip allows you to get into all the nooks and crannies on the nib, and the beauty of rubbing alcohol is that it dries VERY quickly through evaporation, leaving the nib mostly dry and reducing the potential to rust. Dried on ink will need more pressure than "fresh" ink, but be careful not to bend the nib ends.Once I've gotten off as much of the ink as I can I just let the nib and pen holder sit on some paper towel for a while so that they can dry further before I store them away.

Some nibs have attached reservoirs on them, especially if you're using the Speedball brand nibs that come in the variety packs at the local art/craft stores. These can be a little annoying when trying to clean your nibs as the reservoir creates a space where ink can get trapped, allowing it to dry and gunk up the nib. Personally I've found these reservoirs more trouble than they are worth as I find that not only are they difficult to clean but, for me, they also load to much ink on to the pen when writing. I've ripped the reservoirs off when ever they've been attached to a nib that I use. This is where the pipette comes in handy, use it to flush the rubbing alcohol under the reservoir. Another option is to try to side some paper towel between the nib and reservoir, be careful as you do this though as you don't want to pull the reservoir to far off the surface of the nib.

Nib Tune-Up:
You will need a whetstone, I bought mine from John Neal Booksellers - Hard Arkansas Stone.

My first step is to put a drop or two of water on the end of the whetstone and just rub it into the stone a little, I'm not 100% sure if it's actually needed but all the things I've seen and read tell you to moisten the stone with either oil[1] or water.

Step 1: Sharpen the very tip of the nib.
Step 1: Next place the very tip of the nib on the whetstone so that it perpendicular to the stone. You are now going to stroke the nib back and forth (sideways) a few times on the whetstone to achieve a straight tip. It's VERY IMPORTANT that you make this motion from your shoulder and NOT your wrist. Moving from the wrist will twist the movement and has the potential to round the edges of the nib, by moving from the shoulder this is less likely to happen.

Step 2: Smooth the edges of the nib of any burrs.
Step 2: I will then turn the nib so that the side of the nib is resting on the edge of the whetstone. Again, moving from the shoulder, stroke back and forth a few times to remove any burrs. Repeat this for the second edge.

Step 3: Smooth the back of the nib at a very slight angle.
Step 3: At this point I I lay the back of the nib against the edge of the whetstone and then angle it up a little, using the same back and forth motion to remove any burrs from the back.

Step 4: Sharpen the front of the nib.
Step 4: The last step with the whetstone sees me working the front of the nib. Lay the nib on the stone and then angle it up to about a 30% angle, use the back and forth motion a few times.

If you look closely (use a magnifier if you like) you will see bright clean metal around the areas the nib has brushed against the whetstone.

My very last step is to run the edges over the leather whetstone sleeve to soften them off a little.

It's important to remember that although you're "sharpening" you nib, you don't want it so sharp that it actually cuts the surface (paper, parchment, etc.) you'll be writing on. Once you've tuned-up your nib try writing with it, if it's catching on the surface you can dull the very tip a little by going back and repeating step one with a couple of strokes.

My habit is to tune-up my nib at the beginning of my scribal session. On occasion, if the piece I am writing is really long, I will need to pause part way through to give another quick tune-up. Once you've done this a time or two, you'll get a feel for how much or how little you need to tune-up your nibs. It's not difficult to do and it will not only prolong the life of your nibs a little but also help the nib move a little easier across the page.


Footnotes:
[1] Don't use oil on the stone your using with your nibs as you don't want that transferring to your finished page.

Sources & Bibliography:
Class taught by Eva Woderose at Known World Herald & Scribes Symposium in CT, 2012.

Other various sources of which I don't remember.

BROWN, Michelle P. & Patricia Lovett. The Historical Source Book for Scribes. London: The British Library, 1999. Print. ISBN 0-8020-4720-3